Expert guide to on bleaching and toning short buzzed hair
How to bleach a buzz cut at home

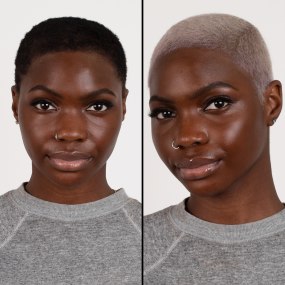
A shaved heads isn't just a hairstyle, it's a lifestyle. Once you've mastered how to bleach and tone your own at home you've got the ultimate blank canvas. Want hair like Florence Pugh? This is for you. Everyone from Kristen Stewart and Zoe Kravitz to Frank Ocean and Florence Pugh have mailed this iconic look, and now it's your turn. We'll teach you how to bleach a buzzcut safely and successfuly, so you can change your hair colour as often as you like, washing dyes in and out, and shaving it back down to the root whenever you're ready to start all over again. Bleaching such short hair can be intimidating, but it's easy when you know how.
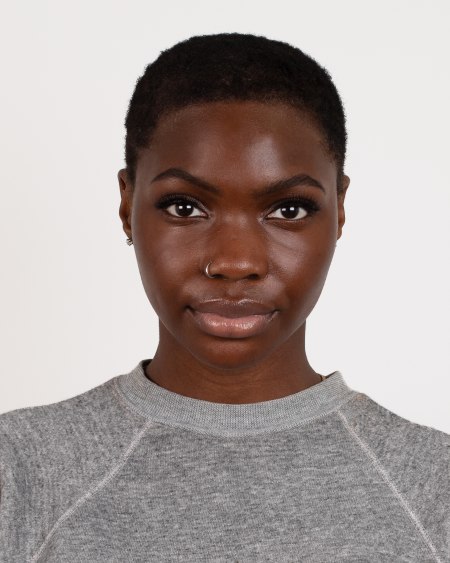
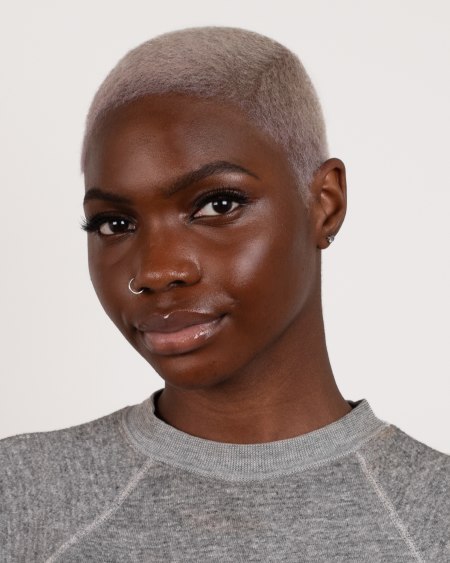
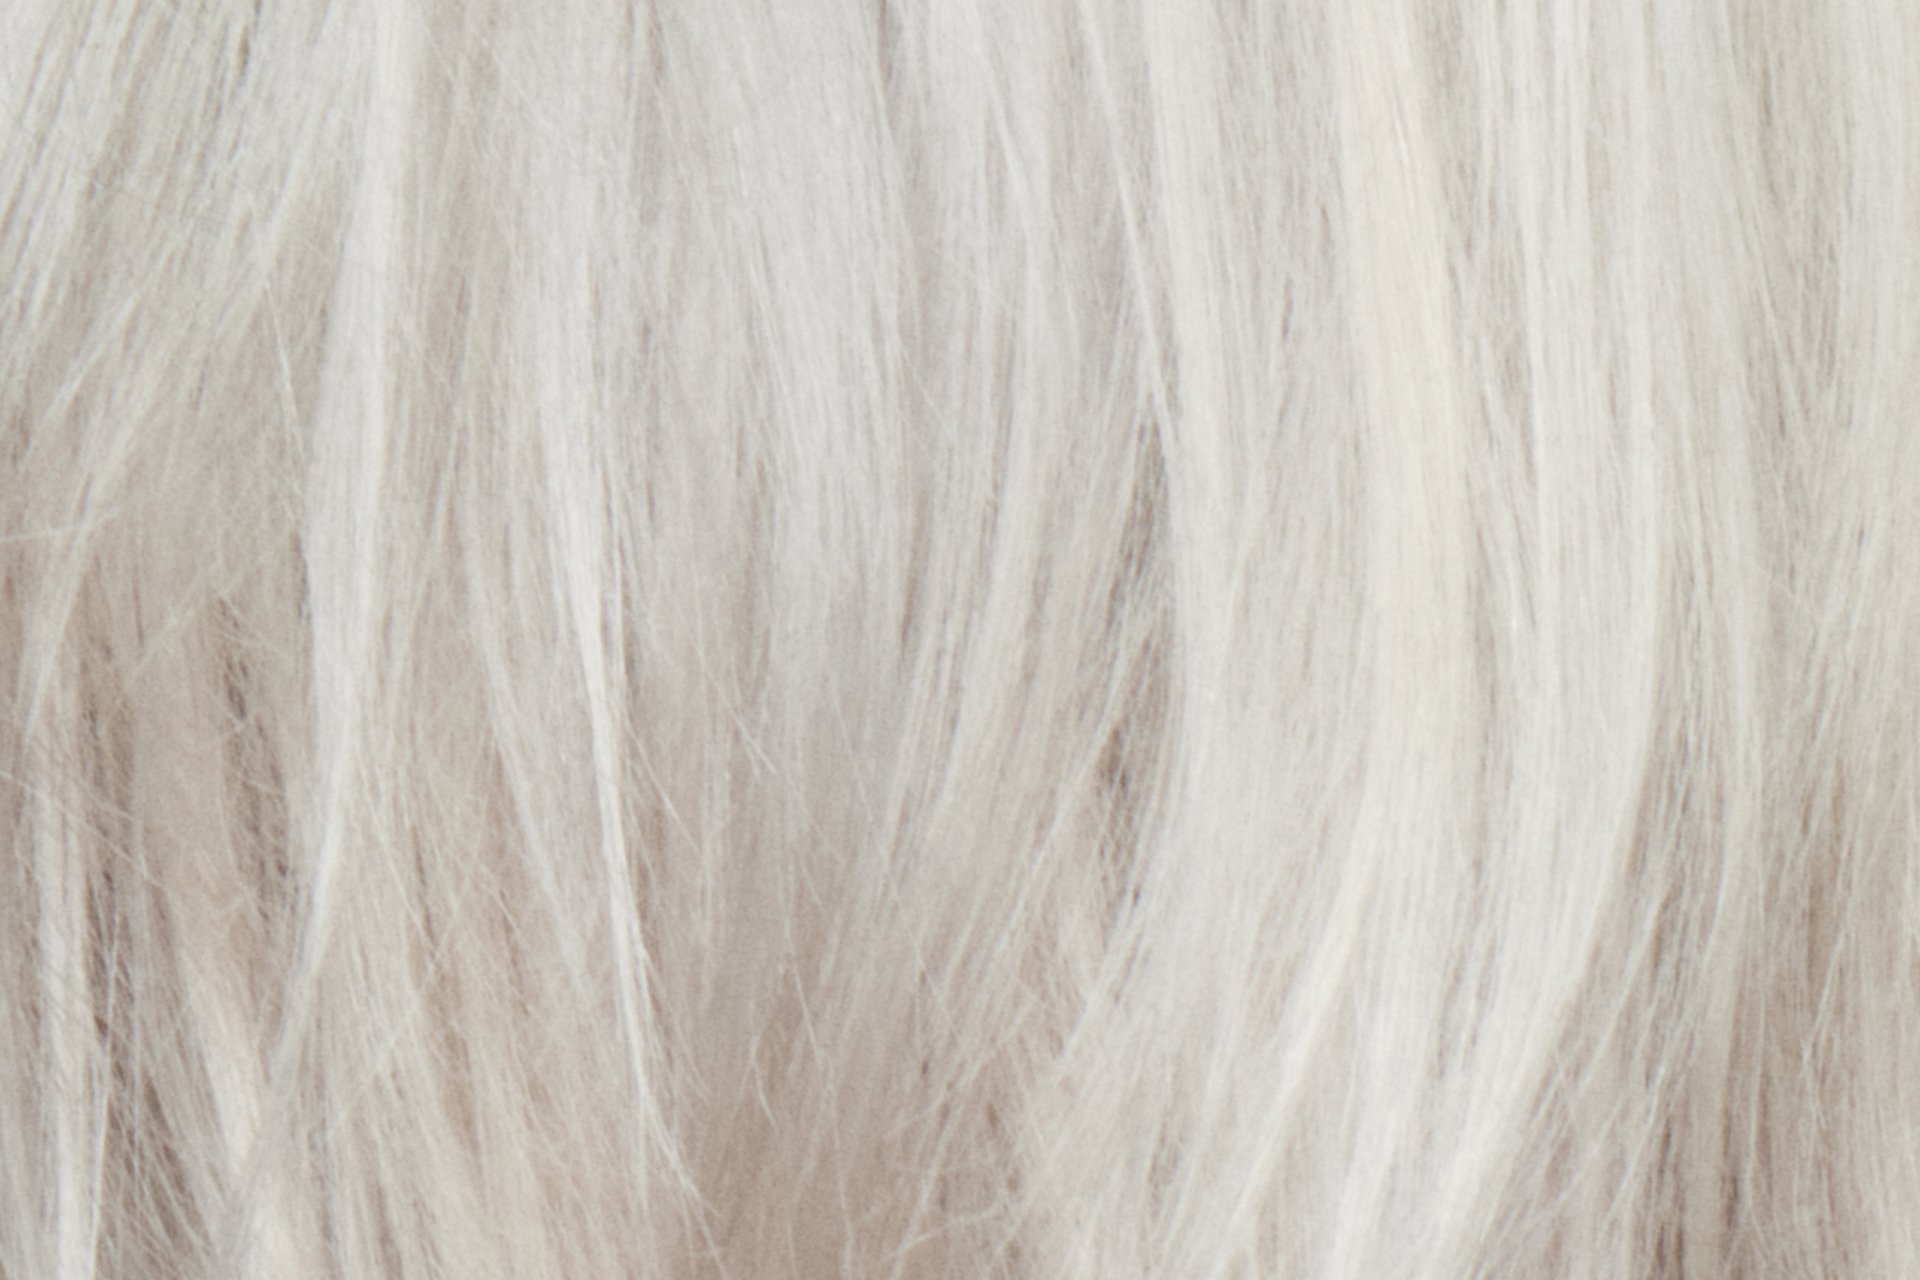
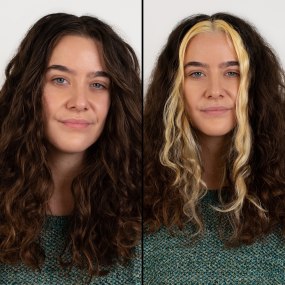
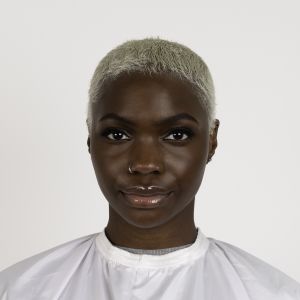
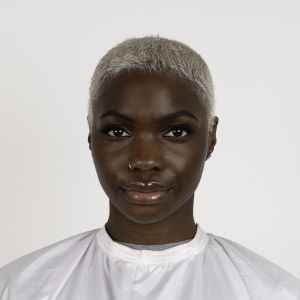
Before and after of bleaching and toning a dark short hair. You can tone it any colour or even do hair paint from here. Buzz it off and start all over!
If you are growing your hair and want an even colour, you should shave your hair and start fresh. However, if it isn’t your goal and you want to continue to grow your hair you can do your roots once your hair has grown out.
The style is up to you. But every 6-8 weeks you can re cut and are bleach your head or re-bleach your roots if you're growing it out.
You must perform a strand test to check the condition of your hair and how it will look and feel after bleaching. Click here for our strand and skin sensitivity test guide.
Read all the instructions included in your Bleach Kit. Check the timings for your hair shape and texture.
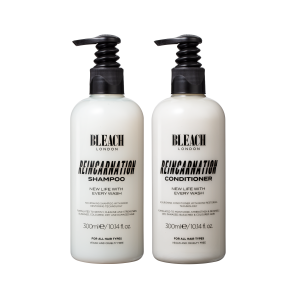
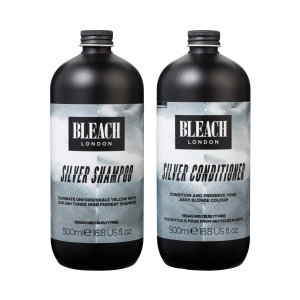
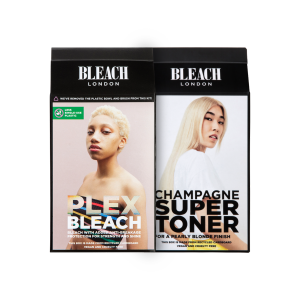
Get prepped! Lay out your products and familiarise yourself with them. See our toolkit below.
Don’t wash your hair for 48 hours prior to bleaching as the natural hair oils help to protect the scalp.
Set aside 30 mins - 1.5 hours for the process.
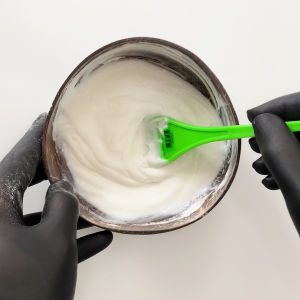
Cut open the bleach packet and pour its contents into a non-metallic bowl. Add the developing lotion and use a non-metallic spoon to mix them together into a smooth, creamy texture.
TOP TIP: Only mix when you’re ready to start. Mixed bleach can expand in the bowl, so do it just before you begin.
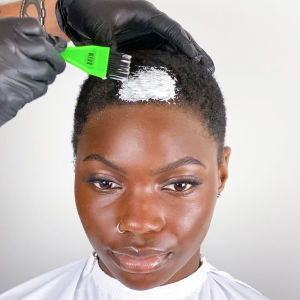
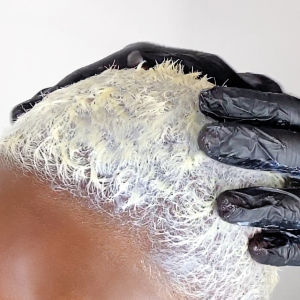
Start at the front of your hair and liberally paint the bleach on from temple to temple using your tint brush.

Now paint the bleach on all over your head. Make sure you cover every hair with the mixture. When your whole head is covered in bleach, make a note of the time.
How long you can leave the bleach on for depends on your hair shape and the thickness of individual hair strands.
If you have coily hair, or fine hair that's straight, wavy or curly, it will likely process more quickly, so don't leave the bleach on your roots for longer than 20-30 mins per quarter.We recommend checking the hair every ten minutes with a scrape test.
If you have thick hair strands that are straight, wavy or curly, your hair needs more processing time, so you can leave the bleach on your roots for up to 45 mins per quarter. Conduct a scrape test to check your hair after 20 mins and then again after 40 mins.
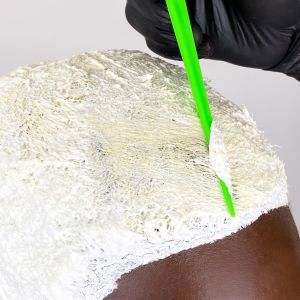
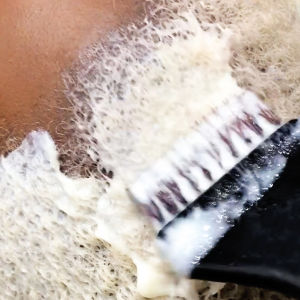
A scrape test helps you check the colour and condition of your hair during the bleaching process.
After your hair at the front has developed for the recommended amount of time, use the comb to gently scrape the bleach away from your roots to check the hair has lightened enough. Then rinse the front of your head until the water runs clear.
Shampoo and rinse your freshly bleached hair twice. Now you're ready to tone!
Break the colourant tube’s seal using its lid and unscrew the top of the developing lotion bottle. Screw the lid back on and shake well until the two products are completely mixed together.
TOP TIP:
Only mix when you’re ready to start. You should use your toner immediately, so mix just before you begin.
Start at the front of your head again. Use the toner bottle to liberally apply the product all over your bleached hair from temple to temple, then through the rest of your head.
Gently smoosh the toner in all over your hair, adding more product as you go to make sure every strand is well covered.
Once all your hair is covered with toner and smooshed in, let it develop for 20 minutes.
Rinse your hair with cool water until it runs clear, then condition and rinse again to finish the toning process.