How to do your own bleach bits at home
Whether you want fiery face frames, slime streaks or pastel pieces, this step-by-step from the Bleach salon experts has everything you need.
Want to dip into colour without the commitment? Your hair’s in luck!
Bleach bits in all their forms are having a moment right now, and they’re one of our favourite styles for DIY-dyeing because they’re simple to do at home, easy to maintain and they’re a good way to try out new colours.
What’s not to love?
Our hair stylists have got loads of tips and tricks for creating your own professional-looking bleach bits at home. This article will cover all the products and tools you’ll need to do your bleach bits, important things to know before you bleach, tone and dye your hair, and a step-by-step guide to getting your dream hair.
WHAT ARE BLEACH BITS?
Bleach bits are just the Bleach London way of talking about any section of hair that’s bleached and coloured separately from the rest of the hair. The style of bleach bit you’re probably most familiar with is the face-framing ones, or money pieces.
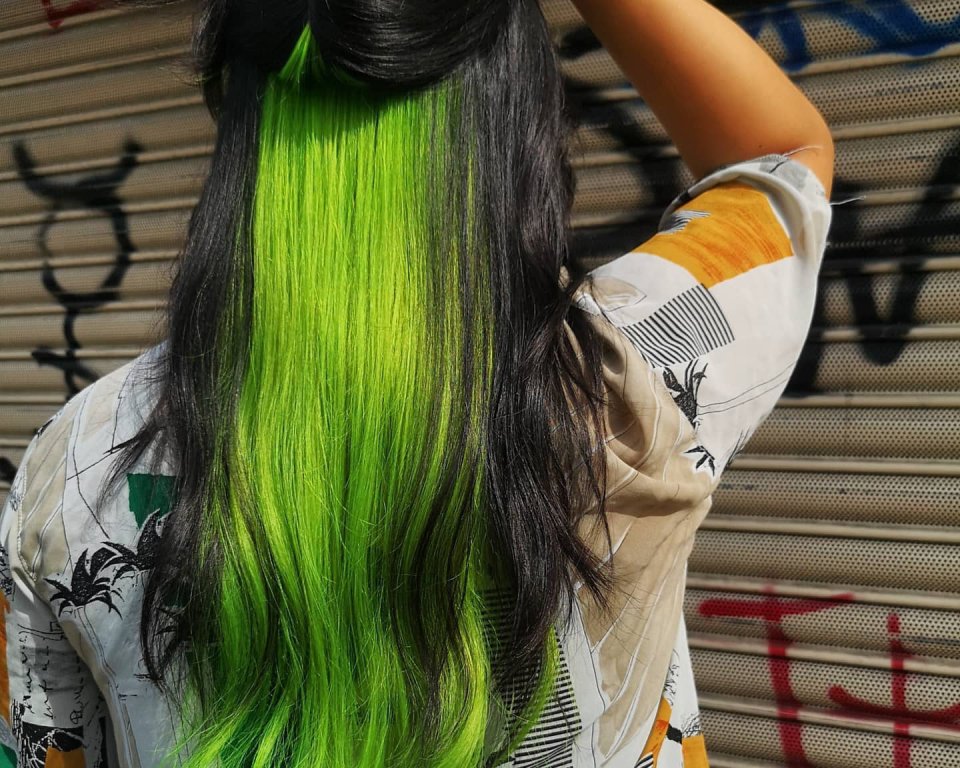
But bleach bits can be anywhere! A fringe, a secret slice by your ear, the whole underlayer of your hair!

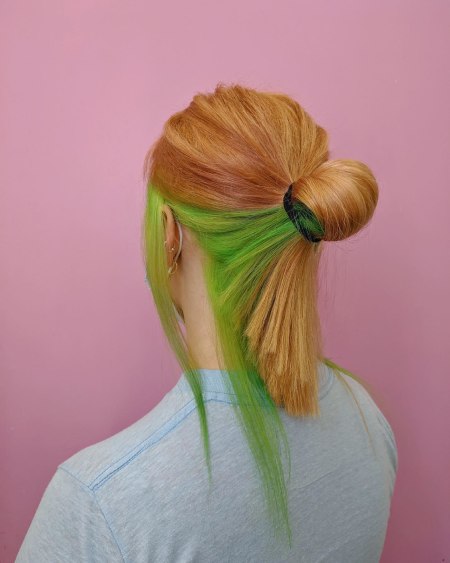
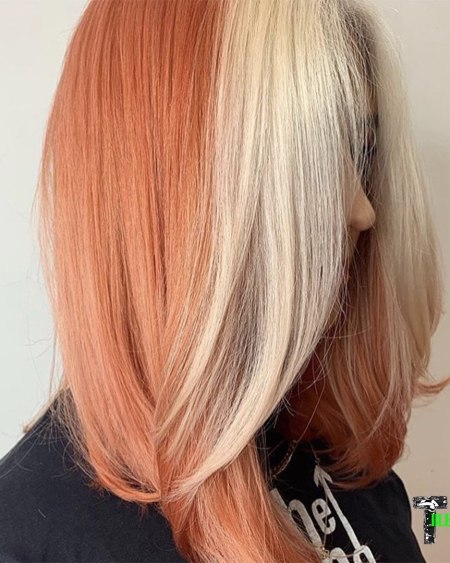
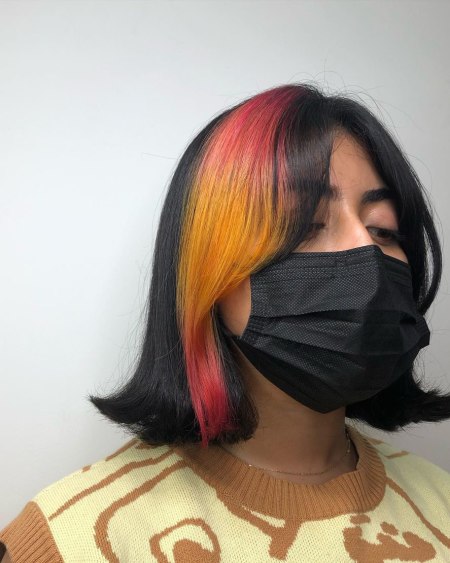
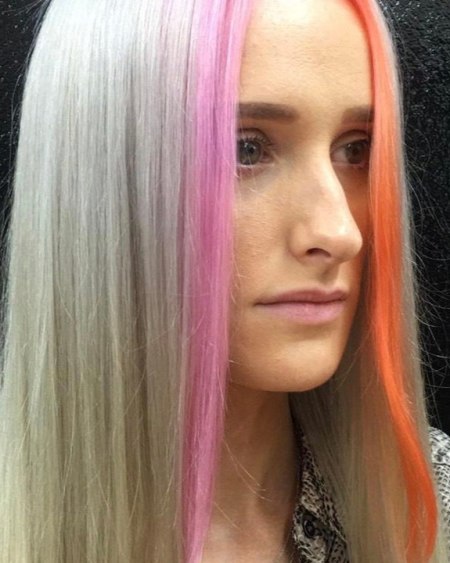
Thin money pieces have been the name of the bleach-bit game for several years. Think Beyonce’s famous face-framing stripes of golden blonde from 2019 or Bella Hadid’s fiery e-girl pieces from early last year. Now we’re seeing the trend move towards bolder, chunky face-framing pieces, half-heads of colour, stripes and hidden underlayers of bleach nas the e-girl aesthetic takes on a new form.

WHAT YOU’LL NEED
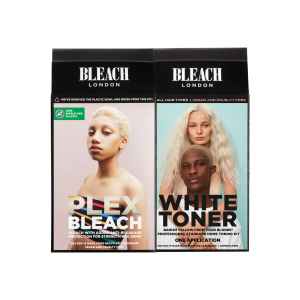
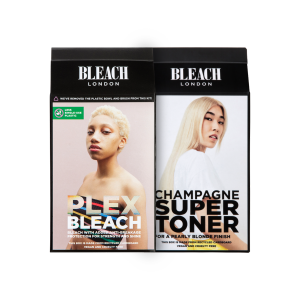
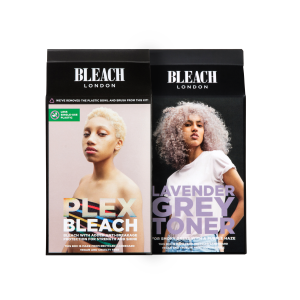
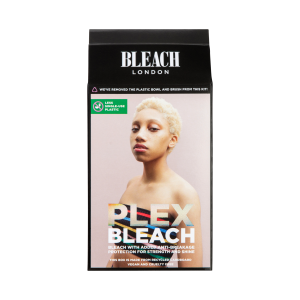
Plex Bleach Kit (plastic gloves included, which you’ll need throughout)
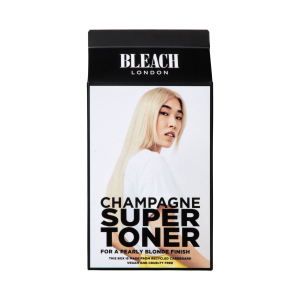
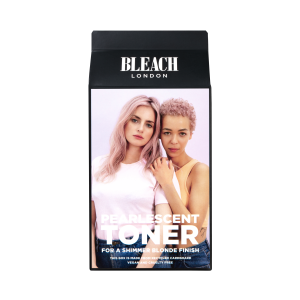
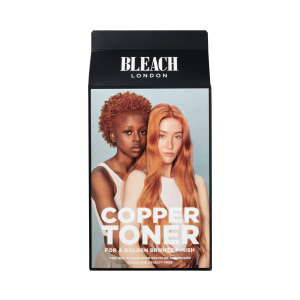
A Toner Kit of choice
Super Cool Colour(s) of choice
An old towel, t-shirt or our Bleach Proof Towel
Your phone to keep track of timings
BEFORE YOU GET STARTED
Read all the instructions that come with your bleach kit, toner kit and semi-permanent dye.
Do a strand and sensitivity test before using the products.
Check the instructions for doing a strand test using the instructions that come in the boxes with your bleach and toner, or read our Strand and Sensitivity Test Guide here.
Use your strand test and the hair swatches on the back of your Bleach Kit as a guide to how light you can safely bleach your hair in one session.
The toner and dye you choose will depend on your bleach base (more on that later!)
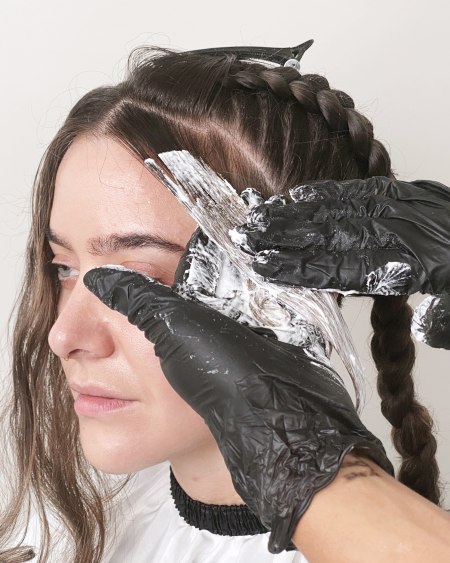
STEP 1: BLEACH
Brush out your hair and section out your chosen bleach bit, clipping or tying the rest of your hair out of the way.
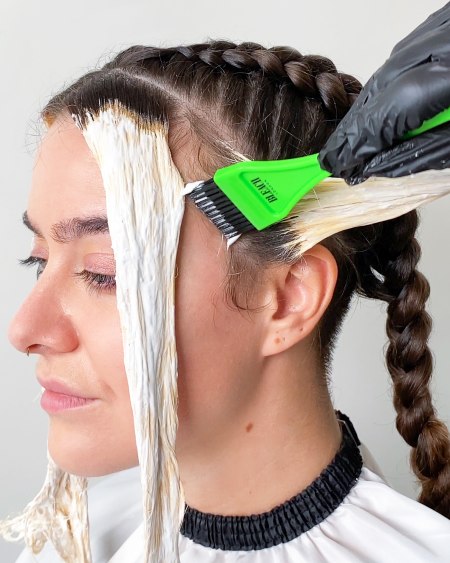
Apply bleach to the mid-lengths and ends of your chosen section, leaving 2cm at your roots. The heat from your scalp makes your roots lighten more quickly, so leave those for last!
Let the bleach develop for 20-40 minutes.
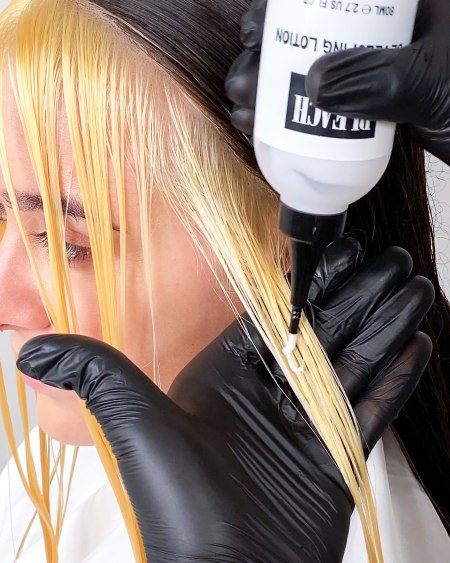
Then bleach your roots in fine slices and set a timer according to the box kit instructions for your hair type.
Scrape test your roots every 10 minutes to check the colour and condition, then rinse and shampoo.
STEP 2: TONE
Don’t skip the toner! It’s an essential step after bleaching. They banish brassy yellows and create an even base for your colour.
Match your choice of toner to the Super Cool Colour you’ll be applying in the next step. Going for a cool colour? Choose ashy White Toner. Want a warmer finish? Champagne Super Toner creates a nice creamy base for most of our semi-permanent dyes, or if you’re going for something more fiery, Copper Toner will start you off with a nice ginger hue. Check out this article for tips from the Bleach stylists.
Smoosh in toner and leave for up to 20 minutes before rinsing.
Our toners give a nice finish alone, so you can skip Step 3 if you like how your hair looks.
STEP 3: DYE
Paint on the semi-permanent Super Cool Colour of your choice and comb through, letting it develop for around 30 minutes.
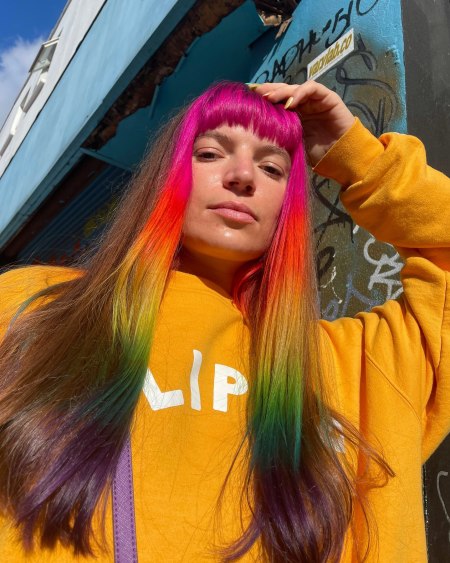
If your love of colour won’t let you stick to just one, you can choose multiple Super Cool Colours to create an ombre or tie-dye effect. Check out how to try these techniques at home here.
STEP 4: MAINTAIN
Keep your colour fresh and your hair healthy!
Mix a dollop of your Super Cool Colour into Reincarnation Mask and apply after shampooing once a week, or try a blonde or colour-maintaining shampoo and conditioner.
To strengthen the bonds in your bleached hair, use the Alex Plex anti-breakage treatment every two weeks.