Related Articles
3 techniques for multicoloured hair
Here are some of our favourite ways to dye hair using multiple colours – from all kinds of ombre to colour clashing. With the Bleach stylists’ top tips for getting the looks easily at home.
Is dyeing your whole head pink not enough anymore? Or maybe you’re a hair dye newbie who can’t choose just one colour. These bright, bold signature Bleach techniques could be right up your street.
Here are our top picks of fun, daring ways to dye your hair, with expert advice on how to DIY them.
DO I NEED TO BLEACH MY HAIR BEFORE DYEING IT?
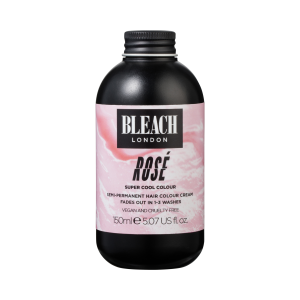
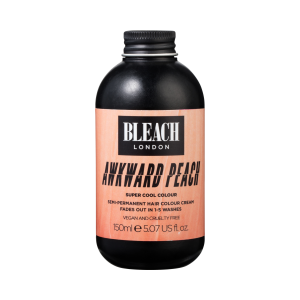
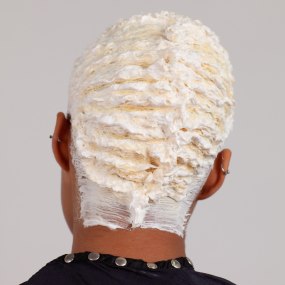
All of the looks we’re about to cover will require you to bleach your hair, unless you’ve got very pale blonde hair naturally and you’re dyeing your hair a more vibrant colour like our Tangerine Dream Super Cool Colour.
We also recommend toning your hair after bleaching it to create the most even base for your desired colour – or colours. The general rule is go with our ashy White Toner for cool-toned dyes and our creamy Champagne Super Toner for warmer dyes.
Take our Hair Quiz to choose the right bleaching kit and amount of product for your hair, then check out our advice for getting your best bleach at home!
WHAT IS COLOUR CLASHING?
Colour clashing is a super fun technique that we’re seeing more and more of as people get really creative with their hair painting.
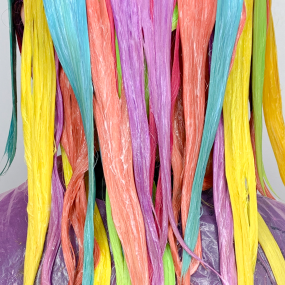
To colour clash, pick two colours that aren’t in the same ‘family’ of colours – maybe not even in the same neighbourhood! For example, pink and green or yellow and blue. Just have a look at a colour wheel and choose your two favourites that aren’t anywhere near each other!
You can clash colours on your hair in a few different ways.
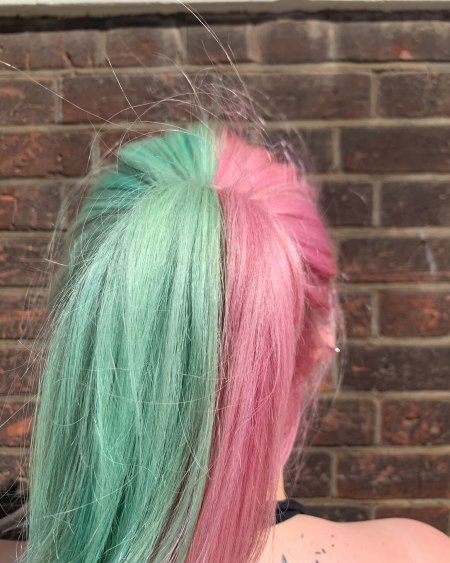
You can block colours together in big sections of hair next to each other, like the picture on the left above, or in smaller pieces, like the picture on the right.
For colour clashing in chunky pieces, section out the bleached hair you want to dye and apply the colour in thin slices using a tint brush. Colour all the hair in the section and then twist the hair up with a Crocodile Clip. Move on to your next section and the next until you’re done.
For smaller colour blocking pieces, divide your hair in horizontal sections. Pick up the strands you want to dye and apply the colour with your brush, starting with the bottom layer of your hair (you’ll have to be quite neat). Put a bit of foil over the top of each horizontal layer so your colours don’t mix.
Make sure to wipe your gloves and use a clean tint brush whenever you’re handling a new shade!
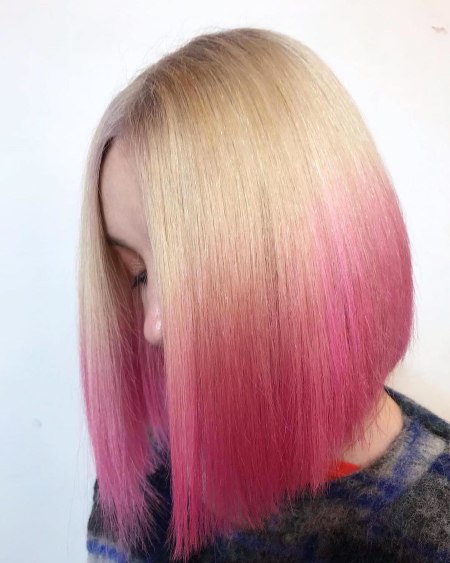
HOW TO DO OMBRE HAIR YOURSELF
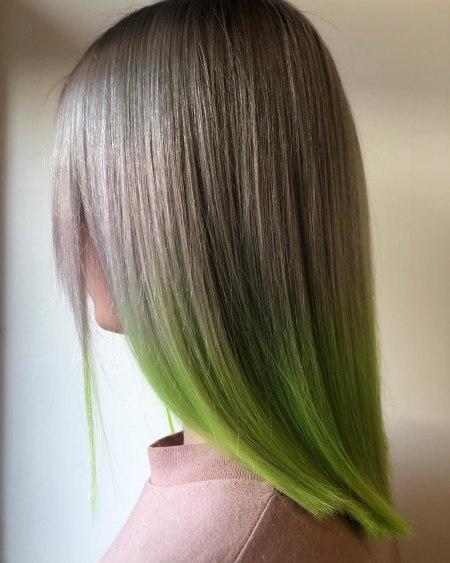
For a more organic transition between colours, we love to blur the dividing line between sections of dye for an ombre look.
Apply your root colour first. Decide how far down you want this colour to go and bring your dye about half an inch past the point where you want it to finish. Then, take your clashing colour and apply the dye from the ends of your hair, smooshing the two shades together where they meet. Again, wipe your hands when switching dyes so they’re only blended where you want it to be!
Make sure you think about how your chosen colours mix together. Yellow and blue dyes will have a green transition in this ombre look, while orange and blue will make muddy brown or grey. If you’re not sure what colour you’ll get when smooshing, take a small amount of both and mix them together in a bowl first to check. If you don’t like it, just use the colour clashing technique instead
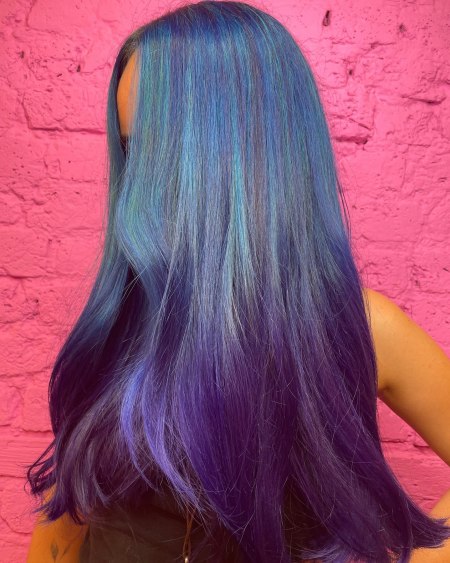
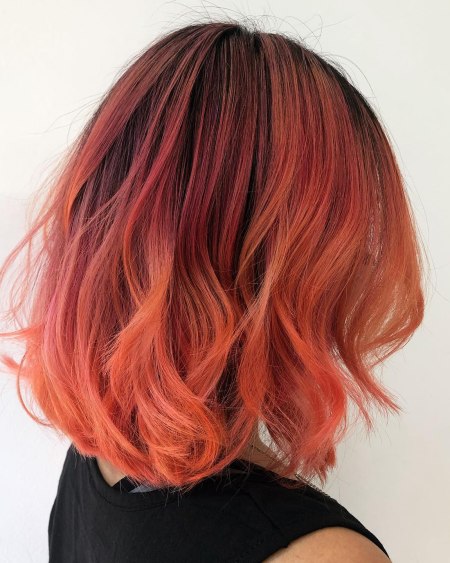
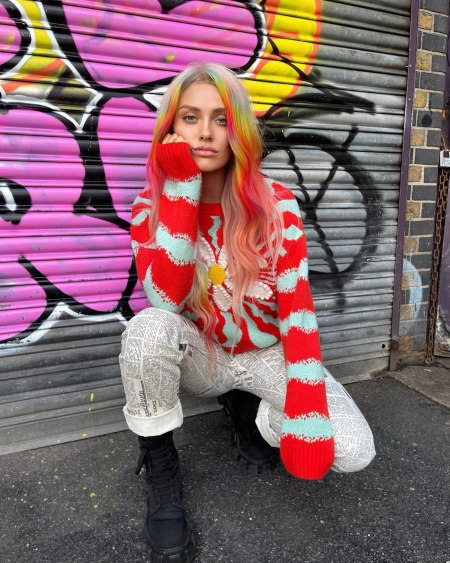
OMBRE INSPO
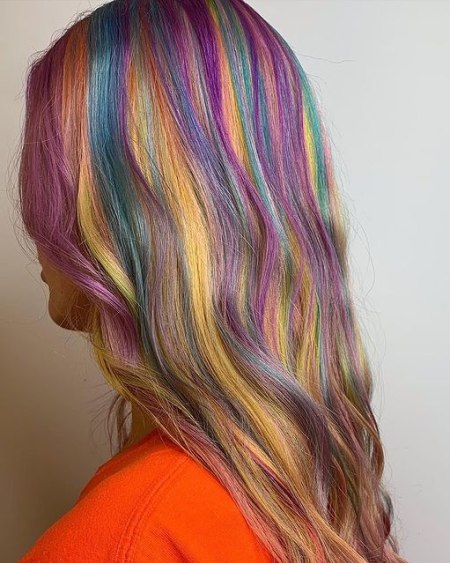
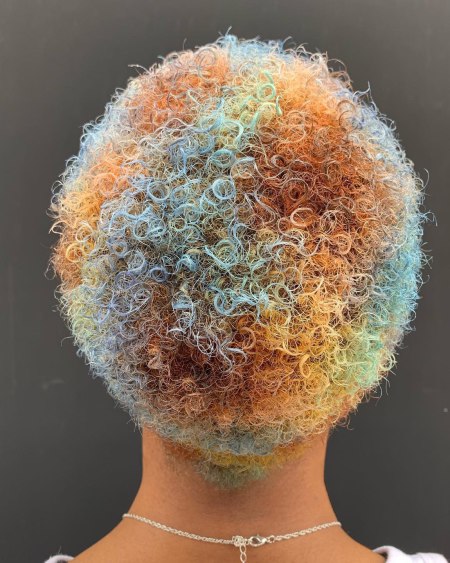
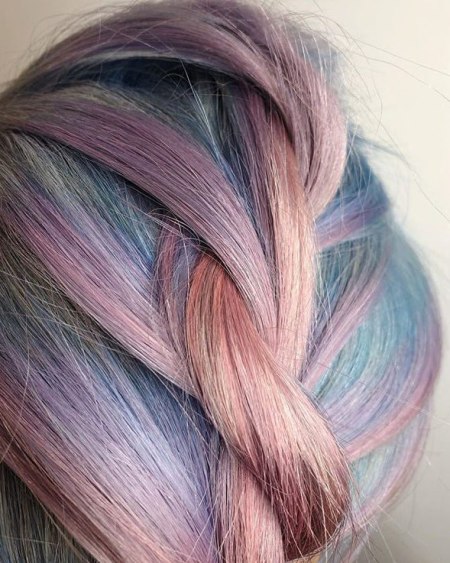
DIY TIE-DYE HAIR
You can also choose several colours that are in the same family or neighbourhood (like a couple of blues, a range of pinks, a blue and green, or an orange and red and yellow) and blend them together for a kind of tie-dye effect.
This method is great because two similar colours will fade in tandem as you wash your hair, whereas clashing colours might fade at different rates. We also love this technique for people whose hair hasn’t lifted as well when they’ve bleached in one part as another because it can help to disguise this.
To have one colour fading into the other, section your hair horizontally. Apply your base colour to the root, starting from the bottom most layer of your hair (usually you’ll start with the darker colour so you can fade into a lighter one, but you dye you!). Use your finger to smoosh the colour towards the ends and blend it out. Then apply your second colour over the top of where you blended the previous one and all the way down. You can smoosh together the line where they meet to get a really smooth blend.
We know we’ve said it before, but we’ll say it again – remember to wipe your hands whenever you’re switching colours!
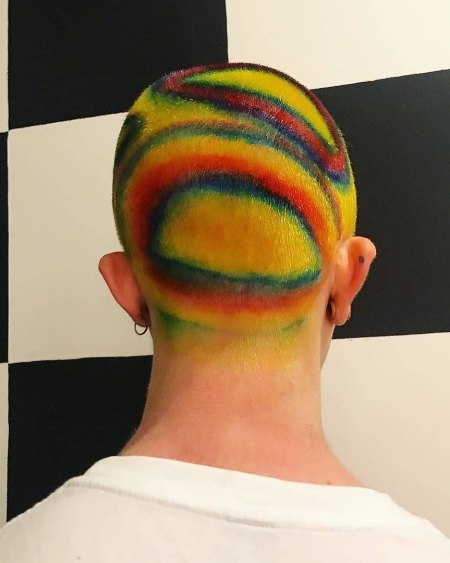
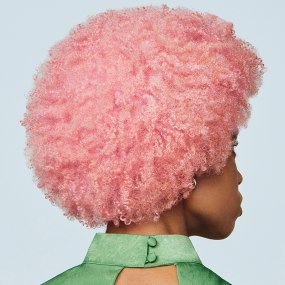
To create a stronger tie dye effect, you can be your own Van Gogh. You can do really neat panels or smoosh and blend different strands together without sectioning (this is especially fun on shorter hair or a buzzcut). Since the colours will blend together, you’ll just need to be careful not to over-do the blending or you’ll lose the multi-tonal effect.
TIE-DYE INSPO
FIND YOUR COLOUR